A Virtual Study Space for Productive Work

I was inspired to create a Notion template that mimicked a virtual study space after researching and writing about online study websites and virtual work spaces. I’ve previously written about LifeAt, Bindr, Fiveable, Study Together, and StudyStream. These sites aim to provide aesthetic and functional online work and study spaces and are increasingly popular.

Notion is also gaining traction from diverse audiences, including students, freelancers, and small to large-sized teams. Notion is considered an all-in-one workspace and many people do their work within the app. I’ve written previously about the Notion templates that students may find useful.

The Notion Study Lounge

I worked with Notion template creators at Hypen to develop the Notion Study Lounge, a virtual Notion template for productive work. The template offers many different features and is customizable. The workspace includes:

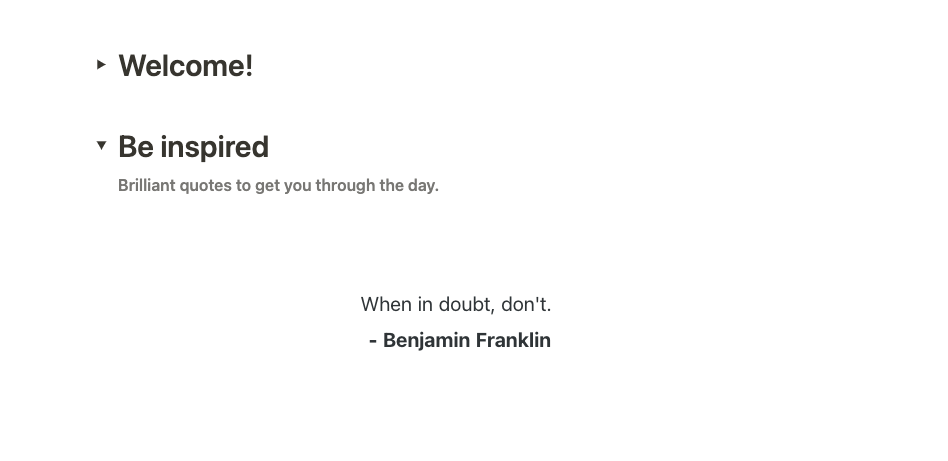
  • Inspiring daily quotes
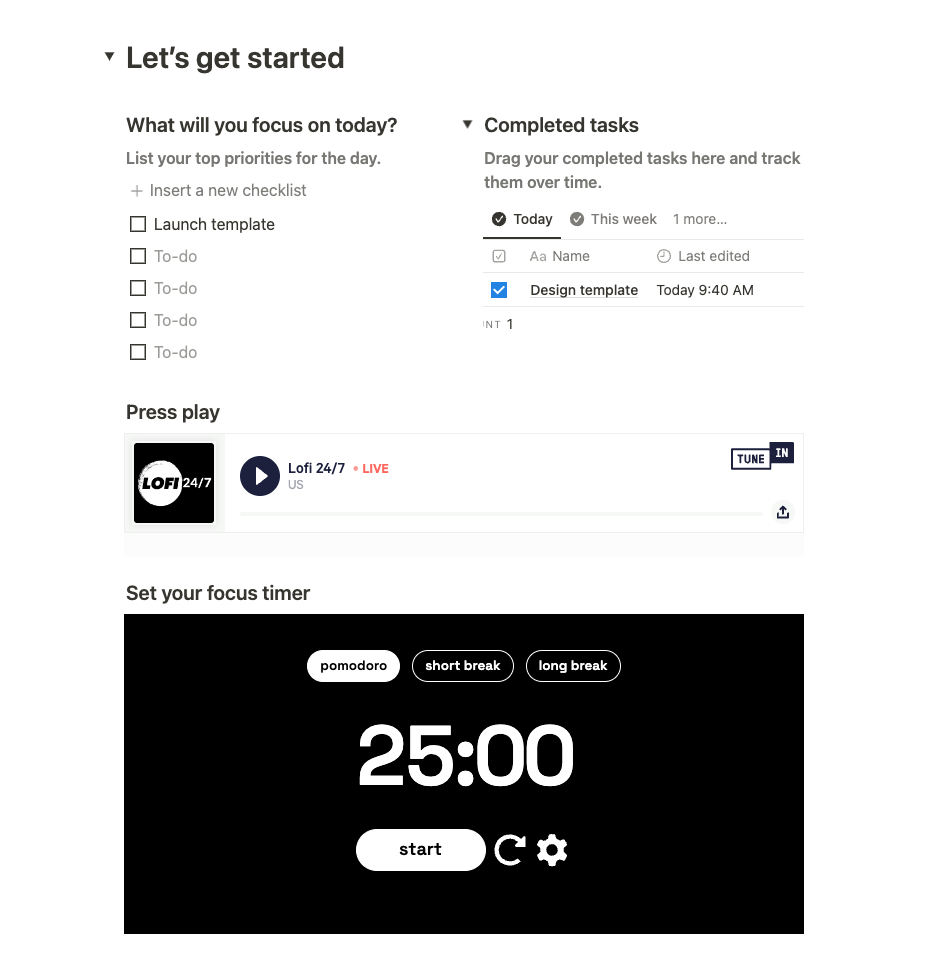
  • An editable pomodoro timer
  • 24/7 lofi radio station
  • A task list
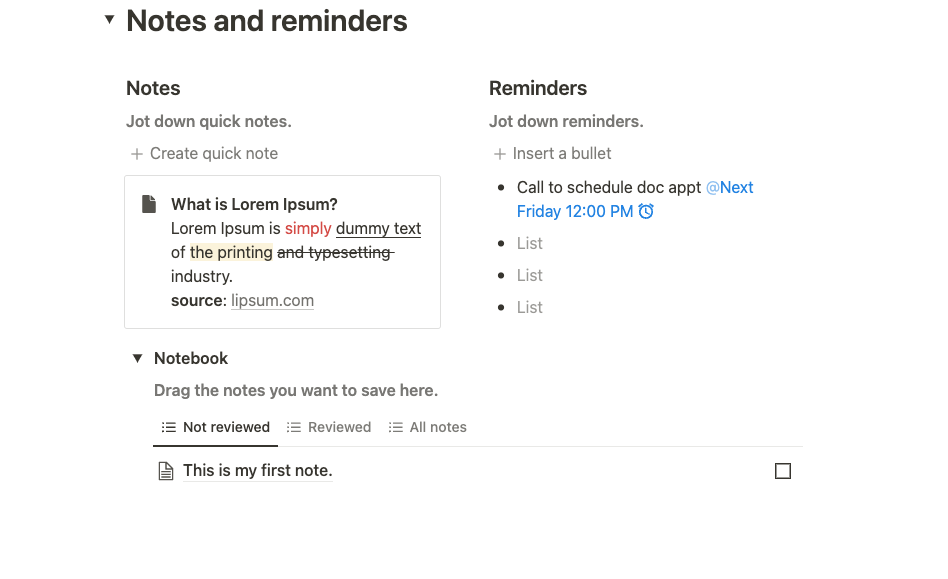
  • A reminders section
  • A notebook for quick notes
  • Quick links

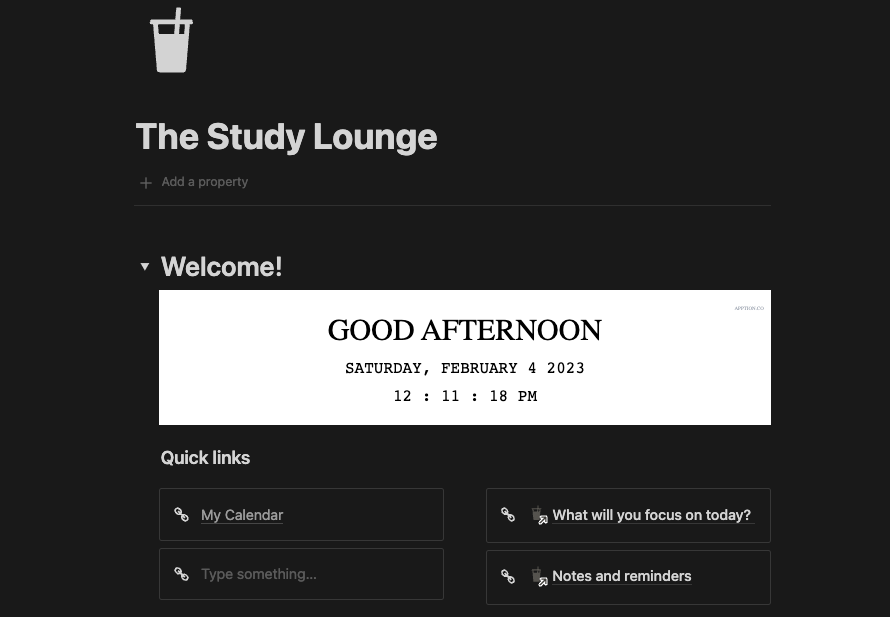
When you log in, you will get a greeting with the current date and time. You’ll also be able to add external and internal quick links.

The internal workspace links will allow you to jump from one section of your work space to another.
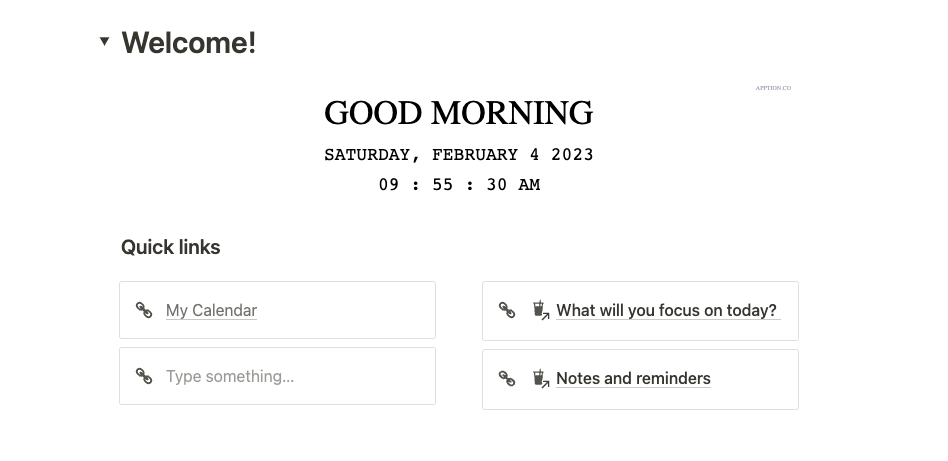
We included toggles so that your workspace remains uncluttered.

This is great if you are easily distracted. With one click you can hide other areas.
The workspace can also work as a daily productivity dashboard. It includes a table where you can drag and drop your task lists. You’ll then be able to sort, group, search, and track your tasks over time.

This template also includes a customizable timer and a 24/7 Lofi station — we absolutely love these two features!
You will likely need to jot down some quick notes and reminders. We have a section for that too.
We wanted to create something that would also look good in dark mode, with different fonts, and in full width. This template achieves all of that!
Get the template ($10.00 USD) here and reach out if you have questions about the template or ideas about future ones. The template includes our credits section–we give credit to the creators that make the widgets we use possible.

Buy on

Mention mystudenthq when purchasing here to get 10% off.

If you are looking to try Notion, you can use my affiliate link for a Notion Plus account.


You may be interested in these posts…


You may support me with a generous cup of coffee.

How to copy and paste text containing Microsoft Word track changes?

Copying and pasting text with Microsoft Word track changes is not as straight forward as simply copying and pasting text in other text editors.

I recently needed to copy text from one document to another, while retaining track changes and could not figure out why my changes were all accepted in the new document. However, a simple google search resolved my confusion.

Here are the steps to copy and paste text with track changes from one Microsoft Word document to another.

  1. Turn off track changes in document #1 (Do not skip this step)
  2. Select and copy the text you want to reuse in document #1
  3. Paste the copied text in document #2 (Make sure track changes is also off, here)

These steps should maintain the track changes in the new document. Keep in mind that I am using a mac. Though I believe these steps should also would on Windows computers.


You may be interested in these posts…


You may support me with a generous cup of coffee.

How to start a writing accountability group

A Writing Accountability Group (WAG) is generally group is a small group of individuals who meet weekly (for about 10 weeks) for 1 hour to write. WAGs exist in many forms but generally consist of 4-8 individuals who are committed to meeting and writing on a consistent basis.

The primary goal of any WAG is that the group maintains the time for writing.

The aim is that at the end of the 10-week block, WAG members would have developed a consistent writing practice. Individuals set their own weekly goals and WAG members provide support towards those goals.

To learn more about WAGs, visit the Office of Faculty Development at the John’s Hopkin’s School of Medicine or WAG Your Work.

The structure of a WAG

The process for a WAG is generally similar from week to week.

In the first 5-10 minutes, individuals complete a shared document with their writing goals. WAG members can also verbally share these goals during this time, including any hiccups in accomplishing their writing goals during the previous week.

Actual writing time should be between 30-40 minutes (for a one hour session). Writing might include anything from brainstorming, developing a figure, compiling a bibliography to outline or drafting text. It is important that individuals set their own goals for their writing projects.

The final 10 or so minutes should be used to discuss if the day’s writing goal for the WAG session was met and plans to continue to write until the next WAG meeting.

To hold WAG members accountable to their goals, group members commit to showing up for each WAG, which is possible, if your writing time is protected on your calendar.

During sessions, WAG members may discuss progress and offer encouragement and strategies towards meeting weekly goals.

MyStudentHq online writing accountability group

I have implemented an online WAG. It is a general workspace, with features that can help with accountability. You do not need an account to sign up. You’ll only be asked to add your name so that we know who has joined each session.

Learn more about the MyStudentHq online writing accountability group and join us with this link. We are looking forward to writing with you!


You may be interested in these posts…


You may support me with a generous cup of coffee.

Write collaboratively with Strike

Today’s featured app is Strike. Strike is a simple application that makes your writing projects more manageable. Users can work alone or invite colleagues to write collaboratively.

The app has Markdown support and many other useful features that I’ll cover in this post.

Writing, editing, and formatting documents

  1. Markdown – Capture your notes and see them automatically. Strike has automatic Markdown preview, so users can see their formatted document as they write. Strike Markdown includes headings, ordered and unordered lists, checklists, links, code blocks, attachments, and other helpful formatting features
  2. Formatting – The formatting features are on the right side so users can easily select text editing tools
  3. Elements – Add MathJax formulas, tables, or a variety of chart types

Navigating documents

  1. Outlines – Generate outlines automatically
  2. Navigation – Use the side panel on the left side of the document to navigate long files easily Users can also identify and select headers or tags on the page from the left panel to navigate directly to that section of the document

Saving and exporting documents

  1. Files – Upload file attachments and export documents as PDFs
  2. Protection – Password protect your Strike documents, lock files, and use version control for file history
  3. Sync – Sync documents with iCloud so that it is available on all your Apple devices

Other useful features

  1. Themes – Select from different themes and colors
  2. Statistics – See document statistics

Write collaboratively

  1. Collaboration – Strike is useful when working with colleagues. Users can invite up to 10 people to collaborate on a document in real-time. The app may also be an alternative to Google Docs if you are looking for a simpler interface.

Strike is available on the iPhone, iPad, and Mac.

I tested the app through Setapp, a subscription service for Mac apps. Setapp has been one of my most significant investments to date and almost all of the apps on my computer are available through the app.

Try Setapp, and we will both get a free month.


You may support me with a generous cup of coffee.

You may be interested in these posts…

Moving from a first draft to a publishable document

Following my post on finding a note-taking app that works for you, I received questions about how I move from my first draft to a publishable version.

In my experience, RoamResearch is excellent for generating quick first drafts. When I feel stuck and need to generate content to see where ideas fit, I turn to Roam. In general, I don’t like having my writing across many different places. This is particularly important when sending versions to co-authors for comments and needing to keep track of these changes. Overall, I find that Microsoft word is still my go to tool for refining documents.

Most of my academic writing has often taken place in Ulysses. I like Ulysses because of its simplicity, Markdown, and text editing tools. However, I am currently using Obsidian for the same purpose and appreciate the extendability of the app with plugins.

In general, I often capture thoughts for a paper in my quick capture tool. I’ve written about how important quick capture is in my writing process. Next, I create a first draft in Ulysses, export it as a word document and send out the word version as a first draft to co-authors. I find that its hard to go back to Ulysses after this step, so I continue writing and editing in Microsoft word from this point on. I haven’t found a better process for handling comments once they come back. So all refinements happen in Microsoft word.

Over many years, Microsoft word has remained stable and offers enough features for wrangling documents and working with comments. Although it is not as shiny as recent apps, it works as intended!

Stay tuned for more posts on note-taking, writing, and general productivity.


You may be interested in these posts…


You may support me with a generous cup of coffee.